Skip to content
Skip to content

Crawl Space Encapsulation

Crawl Space Encapsulation and Vapor Barrier Installation in the Bay Area

Moisture underneath your home damages floor joists, feeds mold, and creates conditions that attract rodents. Rywen encapsulates crawl spaces using heavy-duty vapor barrier materials and addresses the ventilation and drainage issues that let moisture build up in the first place. For a deeper look at how Bay Area crawl spaces go wrong and what encapsulation fixes, see our guide on what Bay Area homes actually need.
Free Inspection
Same-Day Estimates
In-House Crew
No Subcontractors
What Homeowners Experience

Signs That Your Crawl Space Needs Attention

Crawl space moisture problems usually build slowly and go unnoticed until they affect the living areas above. These are the conditions that most often lead homeowners to call us:
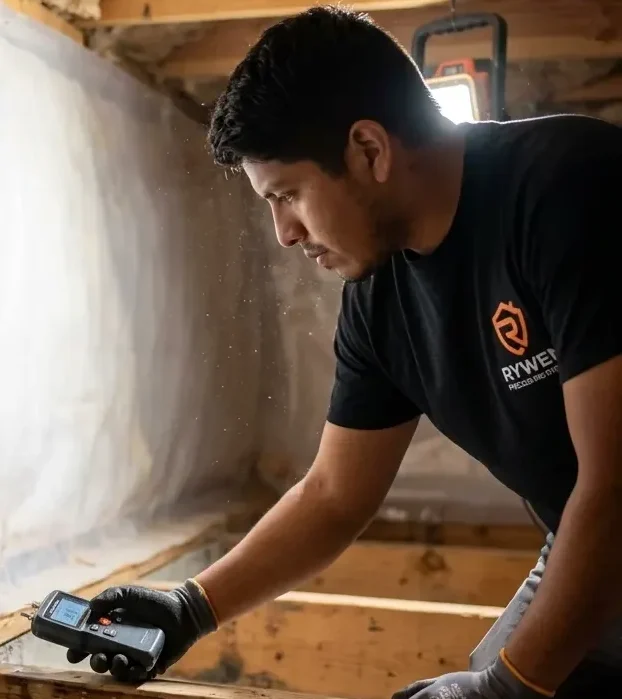
Rywen technician measuring moisture levels in crawl space before encapsulation
The Rywen Approach

Encapsulation That Addresses the Root Cause, Not Just the Symptom

Installing a vapor barrier over a wet or poorly prepared crawl space produces a temporary result. Rywen’s process starts with a full inspection of drainage, ventilation, and existing conditions before any material goes in. We address what is driving the moisture before sealing the floor. If the space is contaminated, our attic and crawl space cleaning comes first.
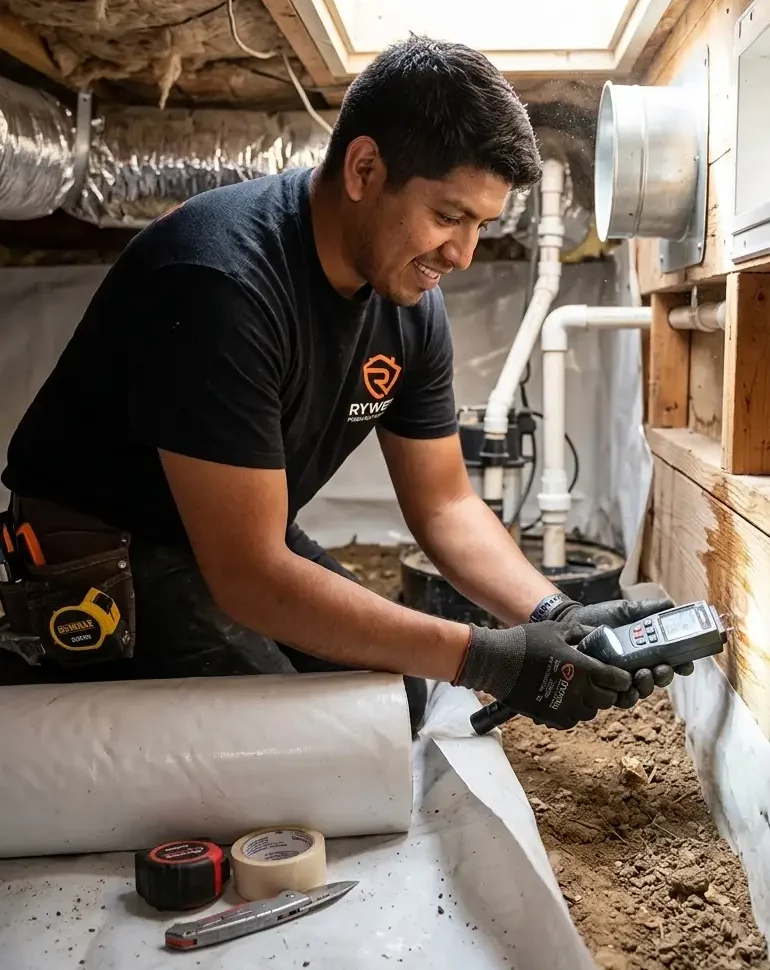
Rywen technician inspecting crawl space during pre-encapsulation assessment
How It Works

The Rywen Encapsulation Process

step 1

Free Crawl Space Inspection

We enter the crawl space, measure moisture levels, assess existing liner condition, check ventilation, and document everything with photos. Written report included at no charge.

step 2

Written Estimate

Same-day pricing that outlines the scope of work, liner specification, and any drainage or ventilation items that need to be addressed before or during installation.

step 3

Removal and Prep

We remove old liner, contaminated material, and debris. We grade and prepare the ground surface before the new vapor barrier goes in.

step 4

Liner Installation

Our crew installs the specified vapor barrier across the full crawl space floor, lapping up the walls and sealing all seams and penetrations.

step 5

Verification and Warranty

Tony returns approximately one week after installation to inspect conditions and confirm the moisture levels have improved. The warranty is issued after this confirmation visit.

Common Questions

Crawl Space Encapsulation - What Homeowners Ask

What thickness vapor barrier do I need?
It depends on moisture levels and what the space is used for. 10 mil provides solid coverage for most residential crawl spaces. 15 and 20 mil offer additional durability and puncture resistance, which matters in spaces with regular access or more demanding moisture conditions. We recommend the right option after the inspection.
A basic poly sheet is a start, but proper encapsulation involves selecting the correct mil rating, prepping the ground, overlapping seams by 12 or more inches, sealing those seams with tape rated for the application, and lapping the liner up the foundation walls. Without these steps, moisture finds its way through.
Encapsulation eliminates the ground moisture that feeds mold growth. However, active mold growth on wood surfaces requires direct treatment before encapsulation. We identify this during the inspection and will let you know if treatment is needed before the liner goes in.
Yes, but the animal entry points need to be sealed and any contaminated material removed first. We offer rodent proofing and crawl space cleaning as separate services that are often combined with encapsulation for a complete solution.
A quality liner properly installed and protected from mechanical damage typically lasts 20 years or more. The follow-up inspection we perform after installation confirms the installation is sound before we issue the warranty.